Random sprout generation
Published December 8, 2014
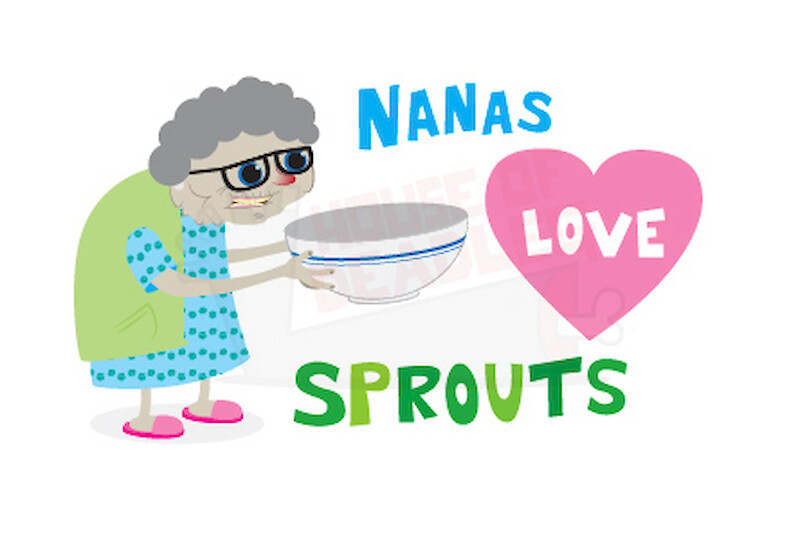
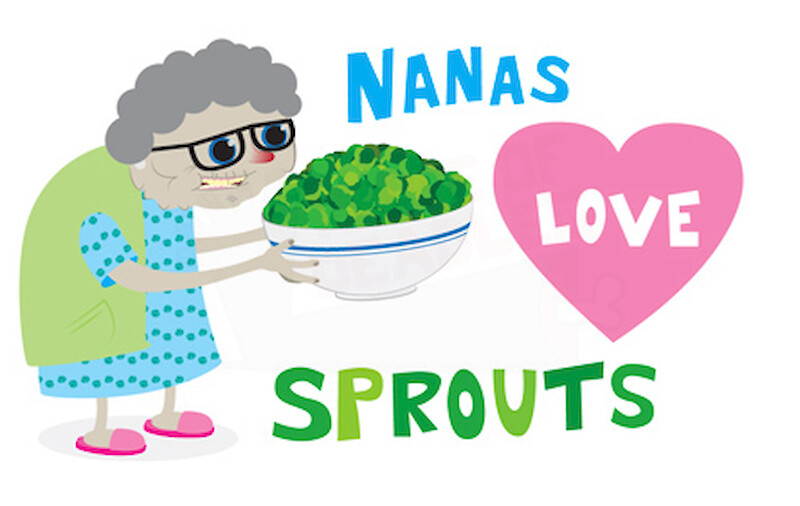
For my Nana Loves Sprouts card I wanted to have the Nana presenting a huge bowl of sprouts. In order to make that bowl of sprouts there are a couple of ways I could go about it. Draw out hundreds of individual sprouts by hand. Draw out a couple of sprouts and then duplicate, rotate, resize, them etc to add a bit of variety.
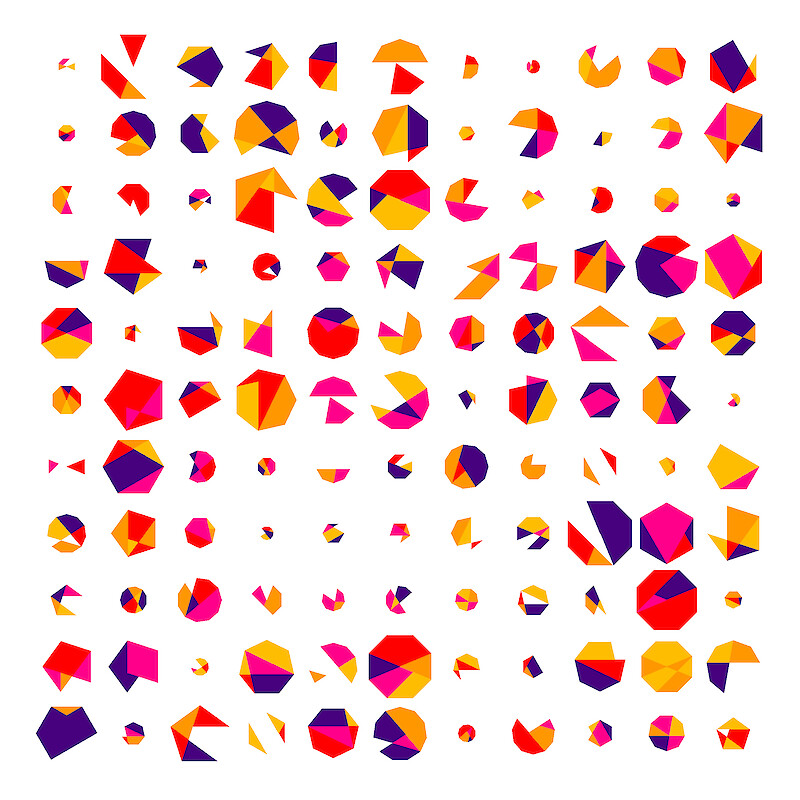
In the end I decided to go with option 2, but with a twist. Instead of duplicating, rotating, etc myself, I'd make a generative art program to do it for me. I've posted previously about the Joshua Davis Skillshare class I took about just this kind of thing. I'm not sure generating random sprouts is quite what he had in mind when he set up the class mind.
- At this point in the image, everything is done except the bowl of sprouts.
- I created a placeholder shape to define the area I want to fill. I copied this and pasted it into Photoshop and saved it as a PNG with a transparent background. In Processing I'm going to use this to restrict where the program places the artwork – everything that's grey will be covered by sprouts.
- Back in Illustrator, I created two different sprouts to use to fill the bowl. I saved these out as separate, ungrouped SVG's, 50px by 50px.
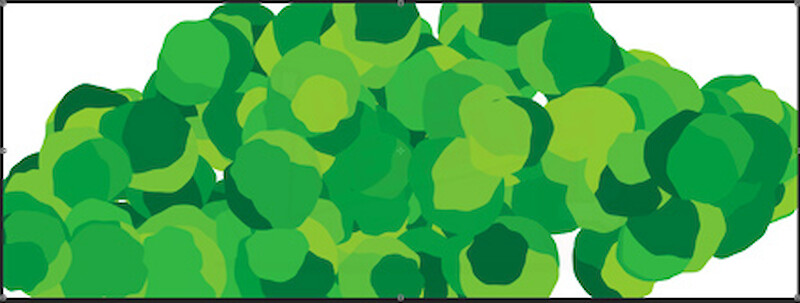
- The two sprout SVG's and the PNG placeholder image are linked into the Processing file and the canvas is set to the same size as the PNG. I made a range of colours by creating a blend between two different greens, expanded it and extracting the colour values. The program will pick a random sprout SVG, use random colours from the selected range to colour each bit of artwork (as the SVGs are ungrouped each leaf will be coloured separately), applies a random rotation and scale and then places the artwork on the canvas. It took a couple of attempts to get the best coverage, but in the end the program was set to do this process 120 times. Every time its run the result is different. I used two different run-through's in the final artwork.
- After the program is run the output is saved as a PDF that looks something like this.
- The artwork is cut off at the edges, but opening it in Illustrator reveals that the whole artwork is there.
- A bit of editing and then the artwork is grouped, copied and then dropped into the main artwork and tweaked to fit.



What did you think?
If you enjoyed seeing a bit of a peek at my process – or even if you didn't – it'd be great if you'd let me know. If you could take a couple of minutes to let me know your thoughts it'd really be appreciated.
You can drop me a quick message on Twitter, Facebook or Instagram if that's your thing, or even an old fashioned(?) !
Thanks for stopping by:)